

Vinyl siding removal from the bottom becomes essential for various reasons, primarily when issues like water damage and pest infestations are present. Water seepage behind the siding can lead to rot and mold, necessitating the removal of damaged panels. Additionally, pests may exploit small gaps, making it crucial to eliminate infested siding to prevent further issues.
Essential Tools for the Job
Before starting the removal process, gather the necessary tools for a smooth operation:
1. Safety Equipment
Prioritize safety with goggles, gloves, and a dust mask.
2. Pry Bar
To lift and remove siding panels.
3. Hammer
Use to gently tap the pry bar for stubborn panels.
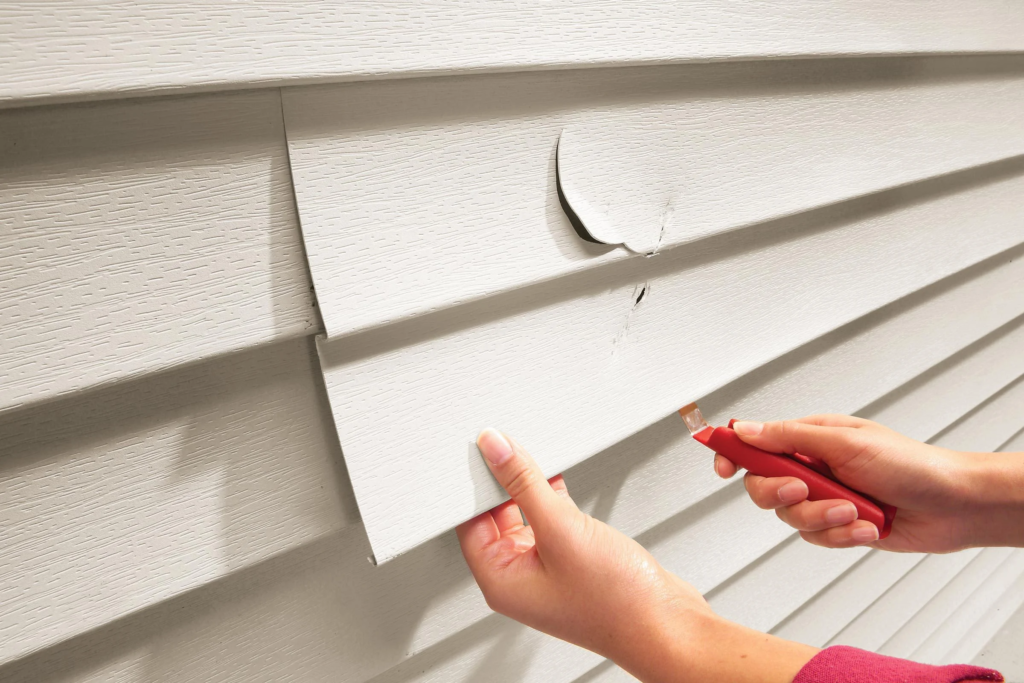
4. Utility Knife
Handy for cutting through caulk or sealant.
5. Pliers
Necessary for removing nails or fasteners.
6. Ladder
Depending on the height, a ladder may be required for higher sections.
Step-by-Step Instructions for Vinyl Siding Removal
Follow these steps for a systematic approach to removing vinyl siding from the bottom:
1. Safety First
Don your safety equipment to protect against any potential hazards.
2. Starting Point
Commence at the bottom and identify the first panel to be removed.
3. Pry Bar Use
Gently lift the bottom edge of the panel using the pry bar, avoiding excessive force to prevent damage.
4. Slide and Loosen
Slide the pry bar along the panel’s length to loosen it from the interlocking system.
5. Careful Removal
Once loosened, carefully pull the panel away from the wall and set it aside.
6. Repeat the Process
Continue this process for each panel that needs removal.
7. Handling Obstacles
For obstacles like windows or doors, remove trim or molding before tackling the siding.
8. Inspect for Damage
After removal, inspect the underlying wall for signs of damage or moisture.
9. Address Issues
Address any identified issues before proceeding with new siding installation.
Tips for a Safe and Clean Work Area
Maintain a safe and organized work environment during the vinyl siding removal:
1. Tarp Usage
Lay down tarps or drop cloths to catch debris during the process.
2. Ladder Caution
Exercise caution when using a ladder, ensuring stability before climbing.
3. Organize Tools
Keep tools and materials organized in a designated area.
4. Proper Disposal
Dispose of old siding and debris responsibly, bagging it for recycling or landfill disposal.
Navigating Tricky Areas and Avoiding Damage
For tricky areas and to prevent damage during the removal process, consider these techniques:
1. Window and Door Areas
Start by removing trim or molding, use a utility knife for caulk, and proceed with panel removal.
2. Pry Bar Over Hammer
Use a pry bar instead of a hammer to prevent dents or scratches.
3. Gentle Pressure
Apply gentle pressure to the pry bar to avoid damage to the interlocking system.
4. Work Slowly
Take your time to prevent accidental damage to siding or the underlying wall.
Dealing with Stubborn Nails and Fasteners
Address stubborn nails or fasteners effectively:
1. Pliers or Nail Puller
Use pliers or a nail puller to grip and gently pull out the nail or fastener.
2. Light Tapping
If stuck, tap the nail or fastener lightly with a hammer to loosen it before removal.
3. Drill Use
If necessary, use a drill with a screwdriver bit to remove stubborn screws or fasteners.
Proper Disposal of Old Siding and Debris
Dispose of removed siding and debris properly:
1. Secure Bagging
Bag old siding and debris securely to prevent loose pieces.
2. Recycling Center
Check with local recycling centers for vinyl siding recycling options.
3. Landfill Disposal
If recycling isn’t available, follow local waste management guidelines for landfill disposal.
Preparing for New Siding Installation
Prepare for new siding installation after removing the old siding:
1. Wall Inspection
Inspect the underlying wall for damage or moisture and address any issues.
2. Thorough Cleaning
Clean the wall thoroughly to remove dirt or debris that might hinder the installation process.
3. Moisture Barrier or Insulation
Install a moisture barrier or insulation if necessary for energy efficiency and moisture protection.
4. Follow Manufacturer’s Instructions
Follow the manufacturer’s instructions for new siding installation, ensuring proper panel securing.
Mastering the Skill of Vinyl Siding Removal
While removing vinyl siding from the bottom poses challenges, mastering the skill ensures the task is accomplished without causing harm to your home. By adhering to the provided step-by-step instructions, prioritizing safety, and taking your time, you can confidently handle the removal process. Remember, patience and effort are key to mastering the art of removing vinyl siding from the bottom.

